What Is Drip Edge? Why This Small Detail Matters for Your Roof

Drip edge is a narrow strip of metal flashing installed along the edges of your roof — both at the eaves (the horizontal bottom edges above your gutters) and the rakes (the sloped edges on the gable ends). Its job is to direct water off the roof edge and into the gutters, preventing it from seeping behind the gutters, running down the fascia boards, or wicking back under the shingles.
It's one of the smallest and cheapest components of a roofing system, but skipping it can lead to serious water damage over time. Here's everything you need to know about drip edge — what it does, what it's made of, and why most building codes now require it.
How Drip Edge Works
Water on a roof surface doesn't always fall straight off the edge. Surface tension causes water to cling to the underside of materials and travel along surfaces rather than dripping free. Without drip edge, water running off the bottom row of shingles can follow the underside of the shingle, travel backward along the roof deck edge, run down the fascia board, and eventually rot the fascia, soffit, and even the rafter tails.
Drip edge breaks this path. The metal extends slightly past the roof edge with a small kick-out angle that forces water to drop free into the gutter. The upper leg of the drip edge slides under the underlayment (at the eaves) or over the underlayment (at the rakes), creating a sealed transition from roof surface to roof edge.
It's a simple mechanical solution to a basic physics problem — and it works reliably for the life of the roof.
Types of Drip Edge Profiles
Drip edge comes in several standard profiles, named by their cross-sectional shape:
Type C (L-Shaped)
The simplest profile — a 90-degree bend forming an L shape. One leg goes on top of the deck, the other hangs over the edge. Type C is the minimum acceptable drip edge but provides less projection than other profiles. It's adequate for rakes but not ideal for eaves where more projection is needed to direct water into gutters.
Type D (T-Shaped)
Also called a "D-metal" or "T-style," this profile has the same L shape plus an additional lower flange that kicks outward, creating a drip point that directs water further from the fascia. The upper leg goes on the deck, the vertical face covers the fascia edge, and the lower kick-out directs water into the gutter. Type D is the most common and recommended profile for eave installations.
Type F (Gutter Apron)
Type F has an extended lower flange designed to reach into the gutter trough. It provides maximum water direction into the gutter and is used on eaves where precise water management is critical. The longer profile also helps bridge any gap between the roof edge and the gutter.
Drip Edge Materials
Like other roof flashing, drip edge is made from various metals:
- Aluminum: The most common choice. Lightweight, rust-resistant, affordable, and available in colors to match the roof or trim. Standard thickness is .019 inches for residential use.
- Galvanized steel: Stronger and more rigid than aluminum. Good for areas where the drip edge needs to span a gap or support itself over a longer projection. Eventually rusts after the zinc coating wears, typically 15-25 years depending on conditions.
- Painted or coated steel: Galvanized steel with an additional paint or powder coat layer for improved appearance and corrosion resistance.
- Copper: Premium material used on high-end or historic homes. Extremely durable but expensive. Develops a natural patina over time.
For most residential applications, painted aluminum drip edge provides the best combination of durability, appearance, and value.
Installation Details
Proper drip edge installation follows specific sequencing that varies by location on the roof:
At the Eaves (Bottom Edge)
Drip edge is installed first, directly on the roof deck, before any underlayment. The ice and water shield or underlayment then overlaps on top of the drip edge. This ensures that any water that gets under the shingles and reaches the underlayment will flow over the drip edge and off the roof rather than behind it.
At the Rakes (Sloped Edges)
On the rakes, the sequence reverses — the underlayment goes down first, and the drip edge is installed on top of the underlayment. This way, water flowing sideways down the rake can't get behind the drip edge. The drip edge at the rakes should overlap the drip edge at the eaves where they meet at the corners.
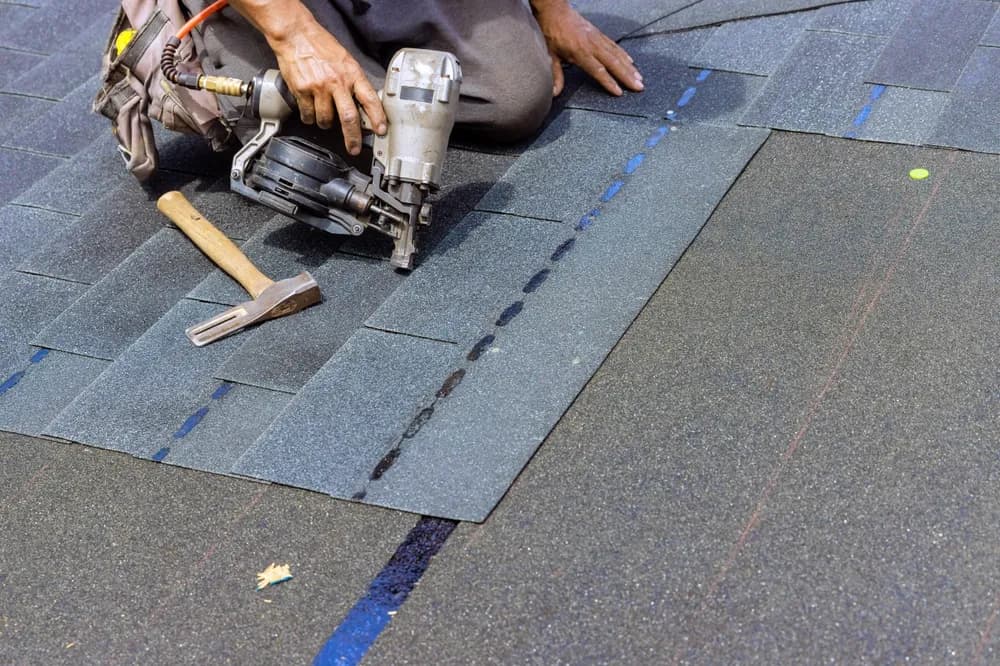
Fastening
Drip edge is secured with roofing nails every 8-12 inches along the upper leg. The nails should be covered by the underlayment (at eaves) or the first course of shingles (at rakes) so they're not exposed to weather. Nails should be placed high enough that they don't miss the deck edge.
Joints
Where two pieces of drip edge meet, they should overlap by at least 2 inches. The upper (upslope) piece should overlap on top of the lower (downslope) piece so water flows over the joint rather than into it.
Is Drip Edge Required by Code?
Yes, in most jurisdictions. The International Residential Code (IRC) Section R905.2.8.5 requires drip edge at eaves and gable rake edges for asphalt shingle roofs. Most local building codes have adopted this requirement. Some older homes were built before drip edge was required and may not have it.
Beyond code requirements, all major shingle manufacturers — GAF, Owens Corning, and CertainTeed — require drip edge as part of their installation specifications. Installing shingles without drip edge can void your manufacturer warranty.
What Happens Without Drip Edge?
Roofs without drip edge are vulnerable to several problems:
- Fascia rot: Water wicking back under the shingles saturates the fascia board over time. Rotted fascia is one of the most common repairs on older homes without drip edge.
- Soffit damage: Water that gets behind the fascia can run down into the soffit panels, causing staining, warping, and rot.
- Deck edge deterioration: The exposed edge of the roof deck absorbs water, swells, and eventually rots. This is particularly problematic with OSB decking, which is highly sensitive to edge moisture.
- Pest entry: The gap between the shingle edge and the fascia — without drip edge to close it — provides an entry point for wasps, carpenter bees, bats, and small rodents.
- Gutter issues: Without drip edge directing water into the gutter, water can fall behind the gutter and run down the exterior wall, causing foundation erosion and basement water problems.
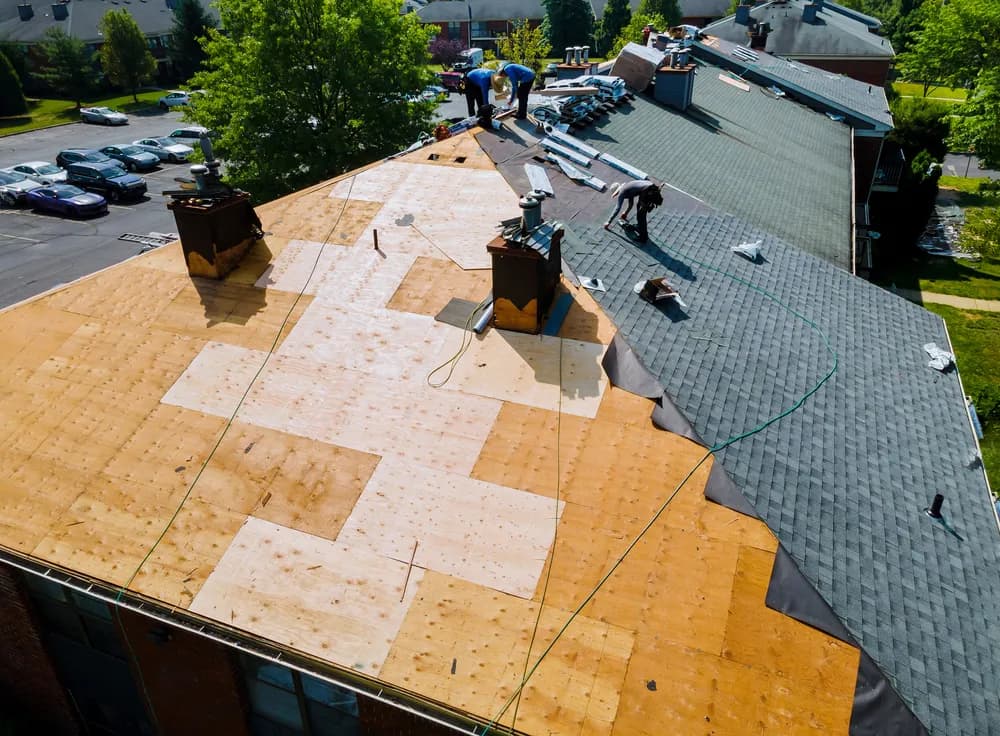
Drip Edge During a Roof Replacement
During a full roof replacement, old drip edge should always be replaced with new material. The existing drip edge may be bent, corroded, or improperly sized. New drip edge is inexpensive — typically $1-3 per linear foot installed — and represents a tiny fraction of the overall roofing cost.
If your home currently has no drip edge (common on homes built before the 1990s), adding it during a reroof is essential. Any reputable contractor will include drip edge in their standard installation. If a roofer's estimate doesn't mention drip edge, ask about it — its absence could indicate the contractor is cutting corners on installation quality.
Schedule a Free Inspection
Peak Roofing installs drip edge on every roof and includes it as a standard component in all our estimates. If you're concerned about the condition of your roof edges, fascia, or drip edge, we're happy to take a look during a free inspection.
Call us at (704) 313-9341 or schedule your inspection online.

Need Help with Your Roof?
Contact Peak Roofing today for a free roof inspection and estimate. Our experienced team is here to help Charlotte homeowners.